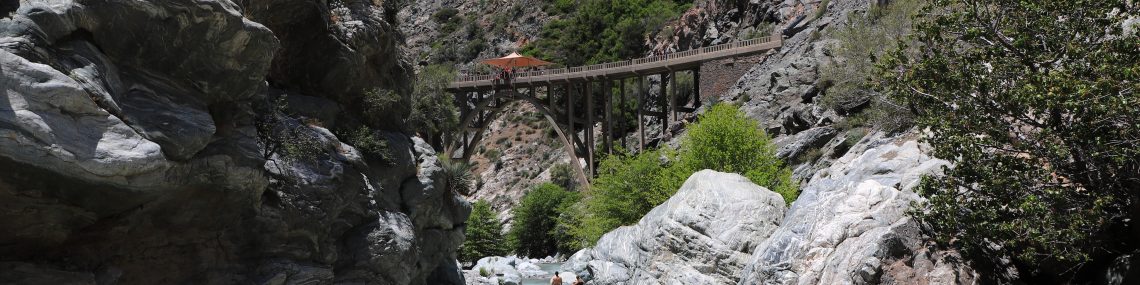
Bridge to Nowhere
Bridge to Nowhere is hands down my absolute favorite hike anywhere, ever, thus far in my life. It is an approximately 10 mile round trip hike up Azusa Canyon to a bridge that leads to literally nowhere. Along the route, you have a couple of deep water crossings which keeps the long hike up and back fun and interesting. And, despite being fairly long the terrain makes the hike more accessible than you might think to hikers of different skill levels, just be sure to give yourself enough time and pack in plenty of water and food.
I’ve hiked this trail a total of 3 times. Once before moving to Hawaii and twice, just this past summer. According to my AllTrails recording, from the last two times I did the hike, the trail is pretty much 10 miles even round trip. My two recordings were 10.3 and 10.7, but both times I explored beyond the bridge. My moving time was around 6 hours when my husband and I did it alone and it was about 6.5 hours when we took my sister-in-law and an old friend of mine. With my husband and I, we were out there for a little over 8 hours total and with our hiking partners it was nearly 12 hours. So, if you decide to explore this trail, expect it to be an all day thing.
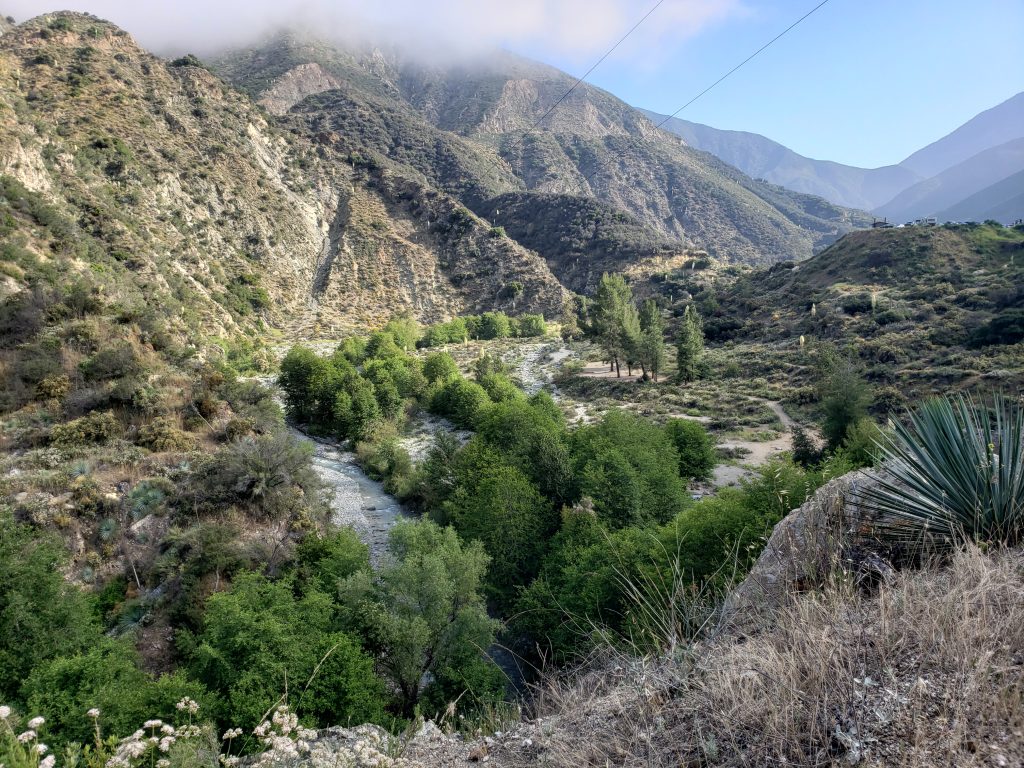
As I mentioned, despite being long, the terrain of the trail makes the hike fairly accessible to people of all hiking skill levels, as long as their endurance is up for the distance. I’ve seen super fit people on this trail, as well as young kids, older adults, and people who lean on the heavier side. The key to this hike is to pace yourself, listen to your body and be prepared. Lots of food and water is essential to making it safely up and back. DON’T LET YOURSELF GET DEHYDRATED.
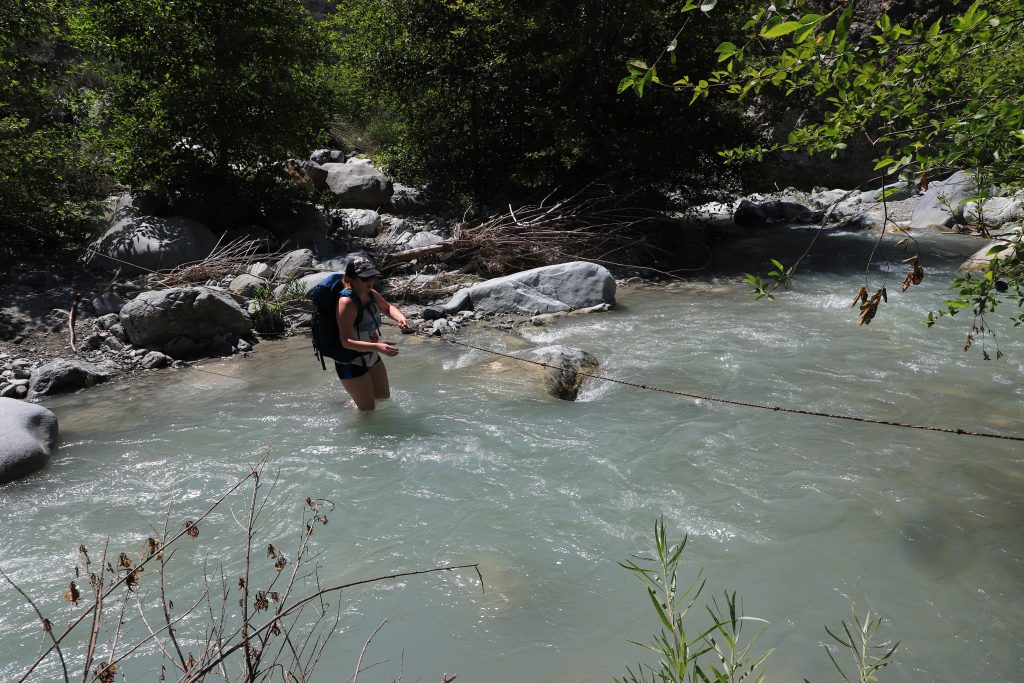
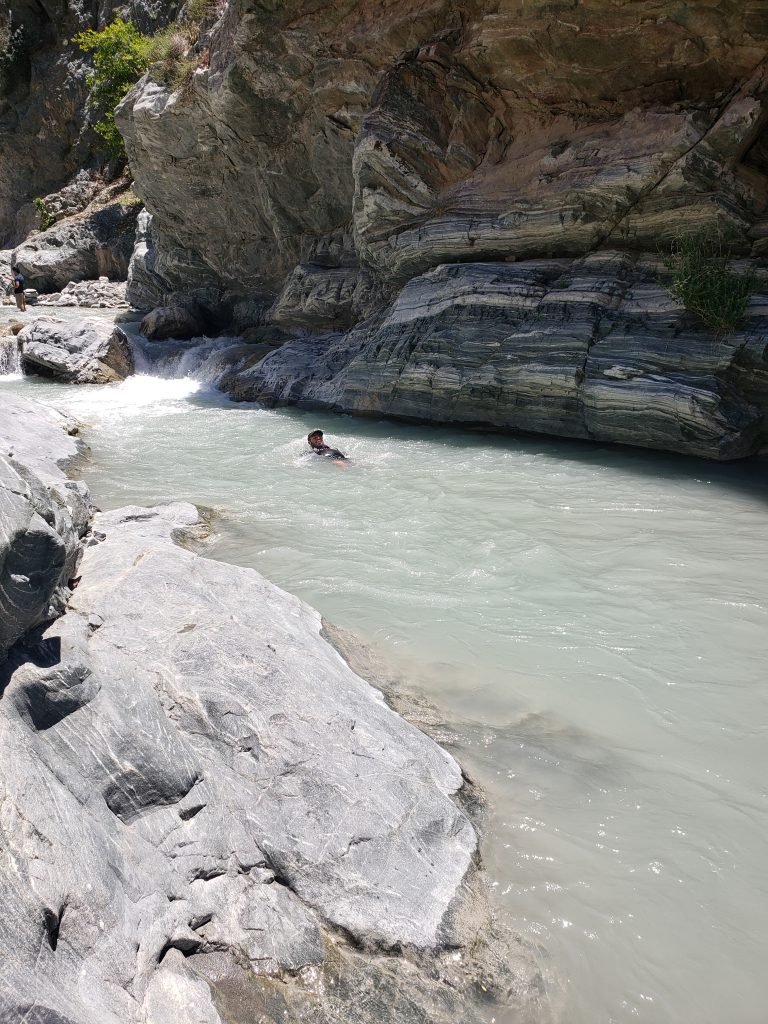
Also, as I mentioned, you will have to cross the river multiple times, oftentimes, depending on the weather and time of year, up to waist deep water. I highly recommend bringing water shoes and changing over to them at every crossing. Trust me, I’ve done this hike both ways, with just my boots and taking the time to swap over at every crossing. Your dry feet will thank you in the end. The few extra minutes at every crossing is worth the comfort for your feet on a trail this long.
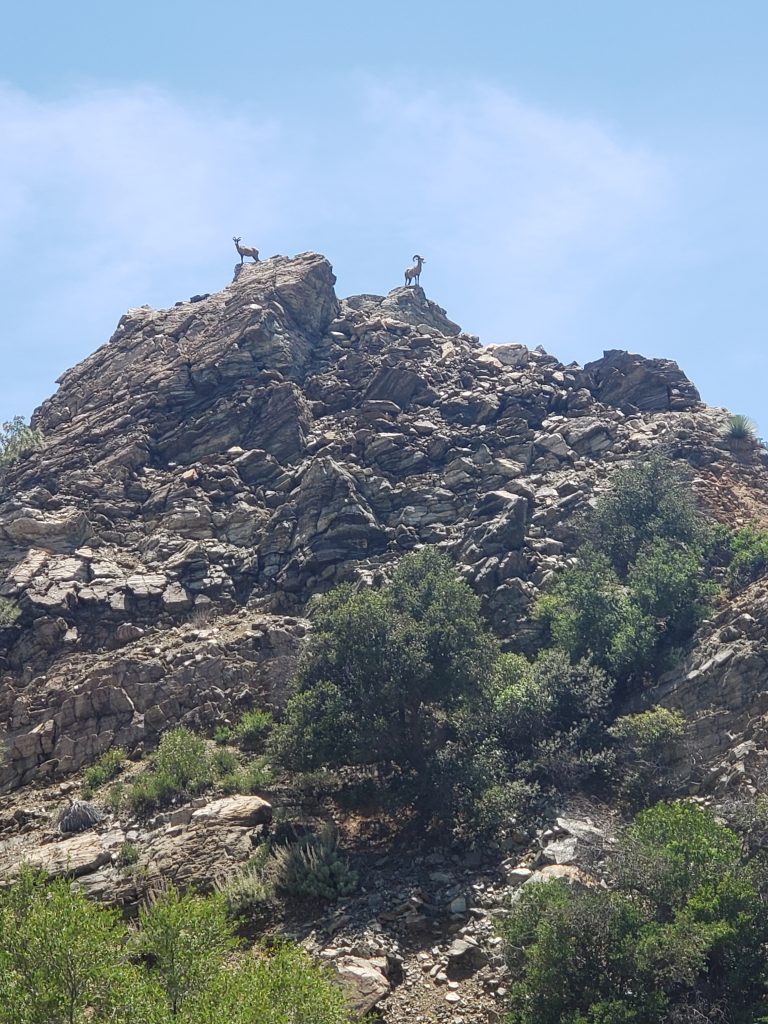
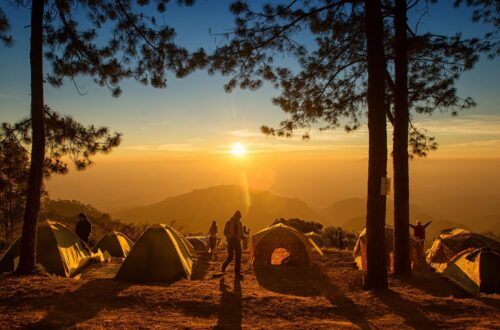
Along the trail, you will pass some cool little campgrounds and most likely you will pass groups of people panning for gold. If you keep your eyes open you will even spot remains of the old road that once went up to the bridge. (Click here for more information on the history of the bridge as well as more detail on the trail itself.) And if you are really lucky you may even spot some wild sheep.
Once you reach the bridge you will most likely see bridge bungee jumpers lined up. I haven’t done this yet, but it is on my bucket list.
If you’re up for it, and if you’ve gone this far I highly recommend pushing just a little bit farther, continue your hike past the bridge and the bungee jumpers and climb down to the water on the opposite side of the bridge. Once down there you will gorgeous pools of water perfect for cooling off in and relaxing at before you start your long hike back.
*This post outlines my personal experiences and opinions on this hike. I am not a professional or expert, nor do I have any formal hiking or survival training. Please hike and explore at your own risk.


2 Comments
David Silverman
Well-written, interesting review that makes me want to do the trail. I didn’t check but wouldn’t be surprised if you are a journalist or author. See you on AllTrails!
Simply Alex
Thank you David for your kind words. I am so happy you enjoyed the post and the Bridge to Nowhere hike is a really amazing trail. I did study journalism and I am an aspiring writer. Hopefully someday I will be able to make a living from my written words.